
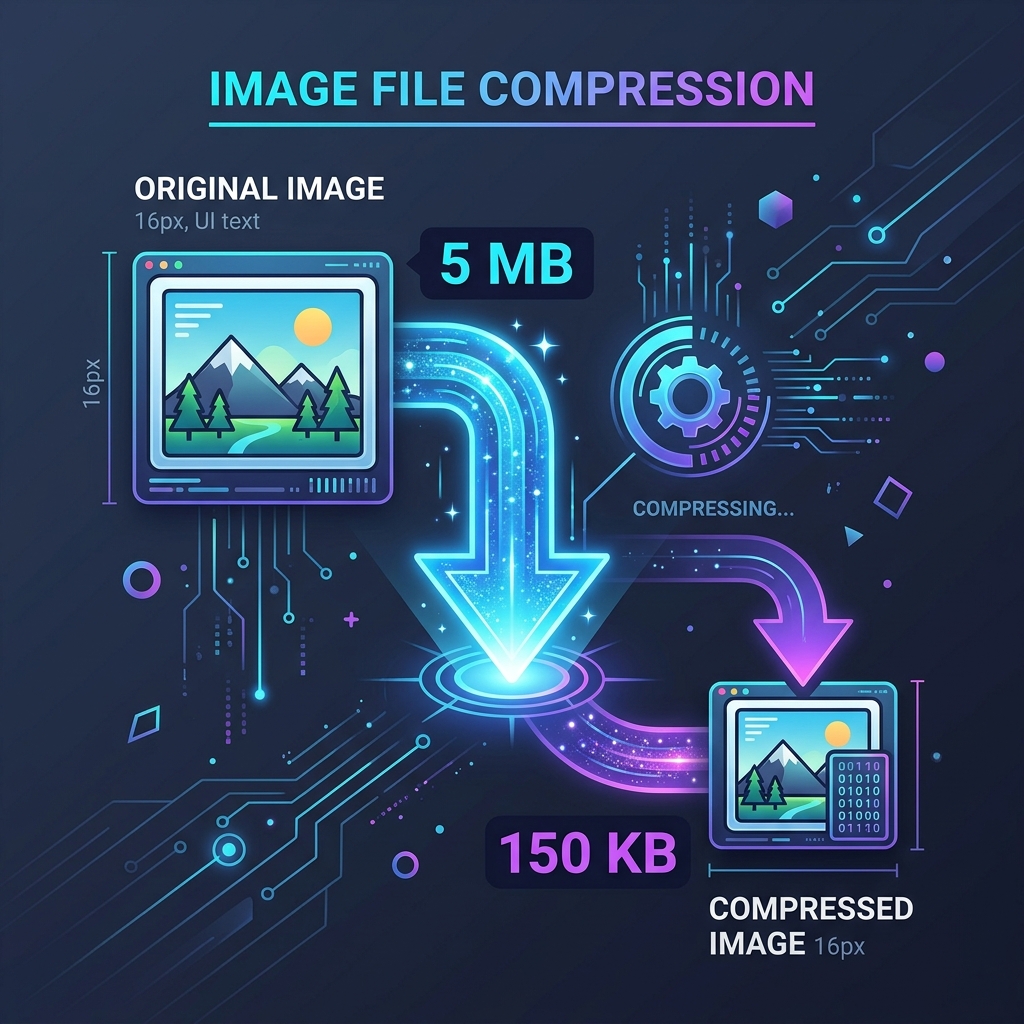
Images account for more than 60% of the bytes downloaded for an average web page. If your site contains unoptimized images, your page load speeds will suffer. This directly hurts your SEO rankings and leads to higher user bounce rates.
The challenge, however, is shrinking those image file sizes without making them look blurry, pixelated, or compressed. In this guide, we will break down the science behind image compression and provide a step-by-step framework to optimize your assets.
1. Lossy vs. Lossless Compression
The first step in understanding image optimization is grasping the difference between lossy and lossless algorithms:
- Lossless Compression: This technique reduces file sizes by rewriting data formats more efficiently, without throwing away any pixel information. The image quality remains identical to the original, but the compression ratios are relatively low. Lossless is ideal for text documents, high-fidelity graphics, and logos (typically PNG and SVG formats).
- Lossy Compression: This technique eliminates details that are less noticeable to the human eye. It yields massive compression ratios (often up to 90% savings). However, once compressed, the original quality cannot be restored. Lossy is best suited for complex photos and banners (typically JPEG and WebP formats).
2. PNG vs. JPEG vs. WebP: Which Format is Best?
Choosing the right image format is critical to hitting your compression goals:
"WebP is a modern image format that provides superior lossless and lossy compression for images on the web. WebP lossless images are 26% smaller in size compared to PNGs."
Here is a breakdown of when to use each format:
- JPEG: Best for photographs. Keep quality around 70–80% for the best size-to-quality balance on the web.
- PNG: Best for geometric shapes, illustrations, and transparent backdrops. Use 8-bit PNG instead of 24-bit PNG for simple UI assets to save over 50% in size.
- WebP: The ultimate web standard. It supports both lossy compression and transparency, rendering high quality at microscopic sizes.
3. A Step-by-Step Optimization Workflow
Follow this routine to ensure your images are fully optimized:
- Scale the Dimensions: Do not upload a 4000x3000px image if it will only display as a 400px thumbnail in the UI. Resize the physical width/height first.
- Compress the Quality: Use canvas scaling or tools like Compresly to reduce quality metrics to 80% or 75%.
- Strip Metadata: Remove camera EXIF profiles, GPS coordinates, and date stamps. This saves extra kilobytes per asset.
- Serve in Next-Gen Formats: Always compile down to WebP or AVIF whenever possible to take advantage of superior compression matrices.
By implementing these simple steps and using the Compresly Image Compressor utility, you can easily optimize all your web graphics, speeding up your loading times and boosting conversion rates.